3. Installing the module#
The MPM500 pneumatic module is designed for only one type of installation, as shown in Figure 3. The module can be used with a variety of pneumatic grippers, suction cups, pneumatic tool changers or other pneumatic devices.
Warning
Make sure the Meca500 robot is powered off, before installing the MPM500 module.
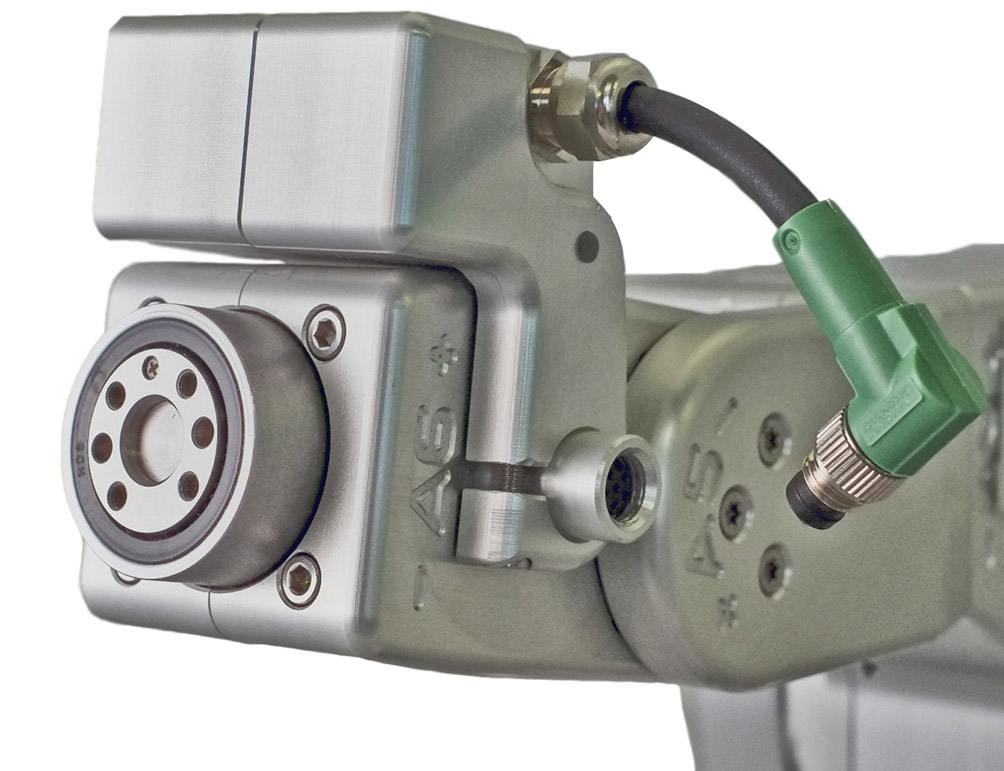 (a) positioning the module
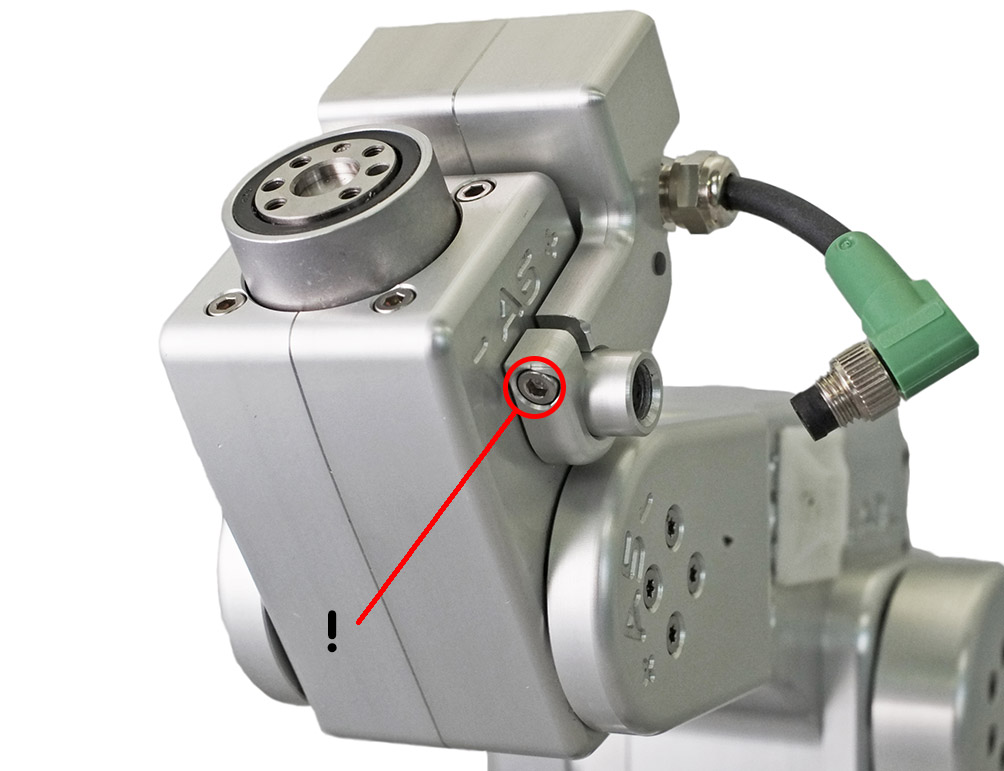 (b) securing the module
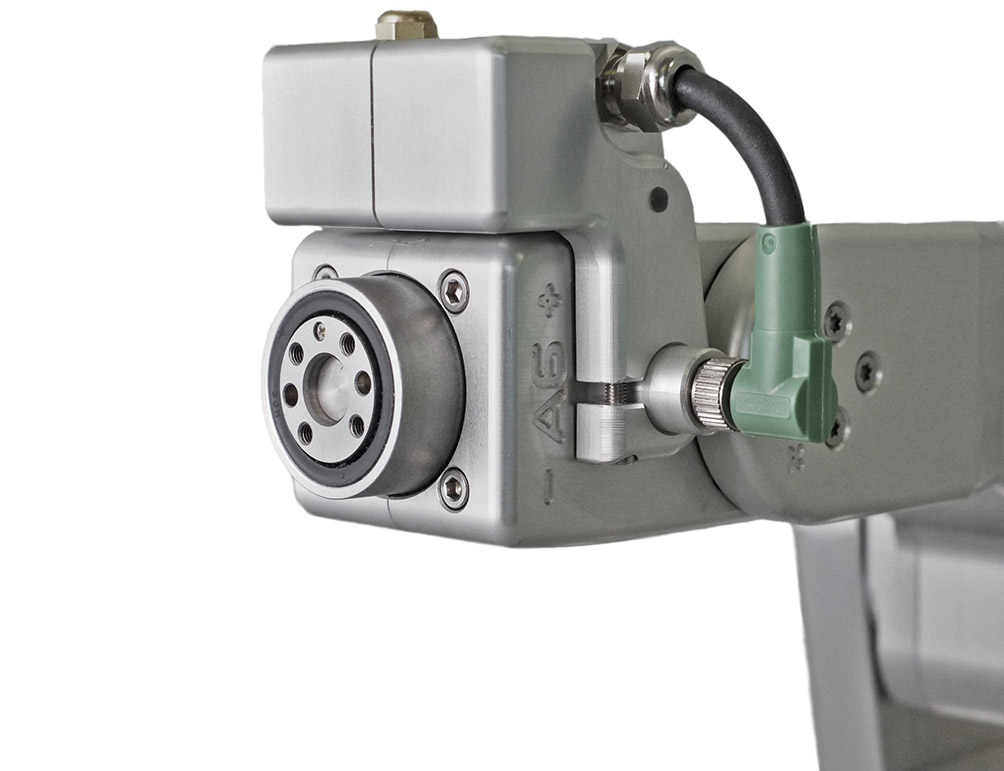 (c) connecting the electric cable
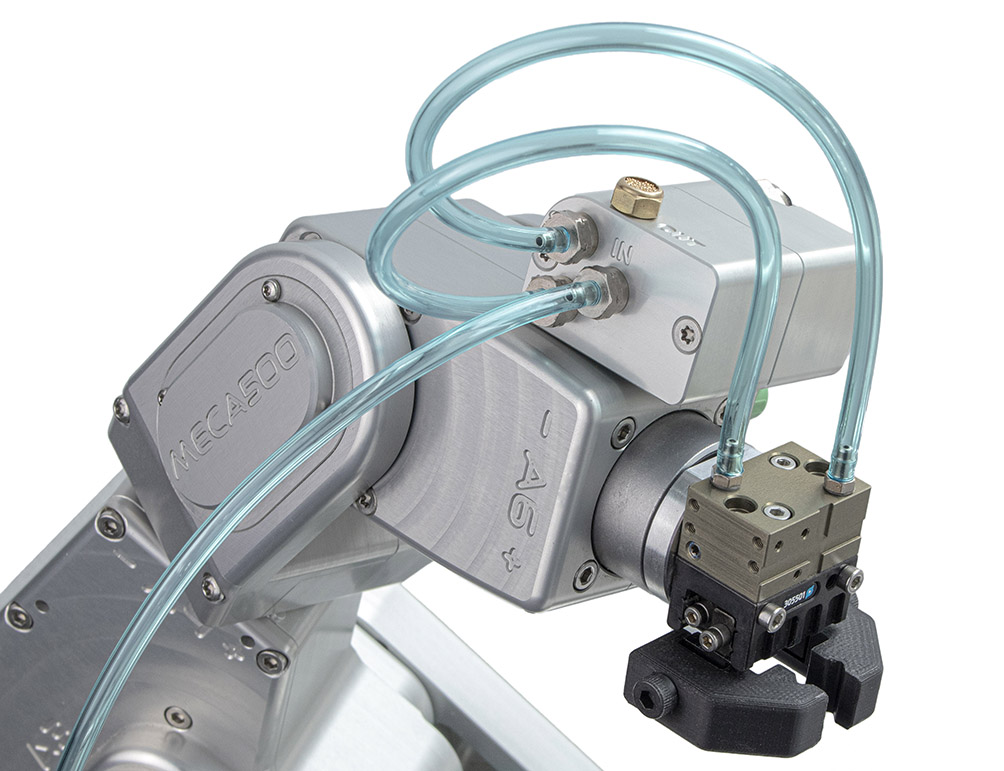 (d) connecting the pneumatic tubes
Figure 3 Installing the MPM500 module with Schunk’s MPG-plus 25 pneumatic gripper#
To install the MPM500 pneumatic module, make sure the robot is switched off, and then follow these steps:
Slide the MPM500 module on top of the Meca500’s wrist, aligning it with the robot’s electrical connector (Figure 3a).
Tighten the screw of the module clamp with an Allen key in order to secure it in place as shown in Figure 3b.
Connect the 6-pin SDLR cable of the module to the Meca500’s electrical connector (Figure 3c).
To complete the set-up, install your pneumatic tooling and then the required pneumatic tubing (Figure 3d). Examples of pneumatic circuits are given in the next section. Make sure the tubing is sufficiently long for the required range of motion of joint 6 of the robot.
Power the Meca500 (see its User Manual for more information).
After activation of the Meca500, the green LED on the module should emit steady light, indicating that the electrical connection is functional, as shown in Figure 4.
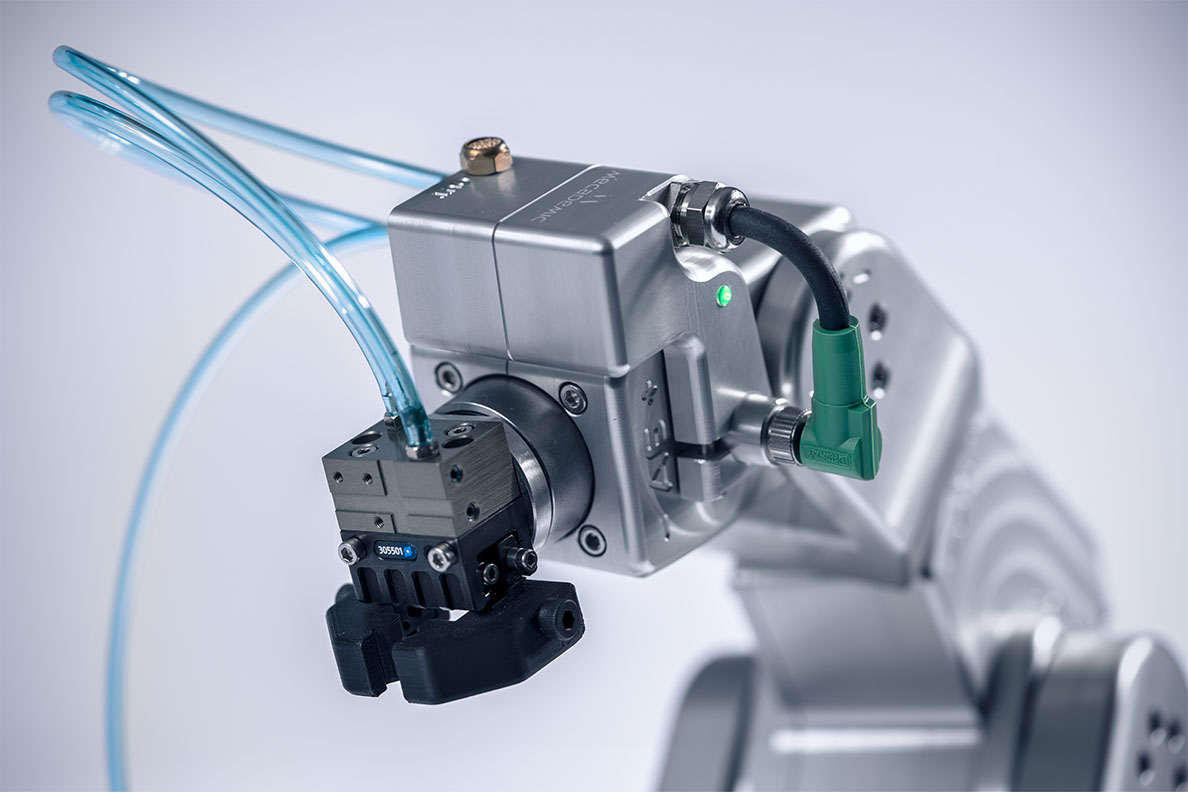
Figure 4 Pneumatic module connected to the Meca500 and to a double-action pneumatic gripper#